Brake Bracket
|
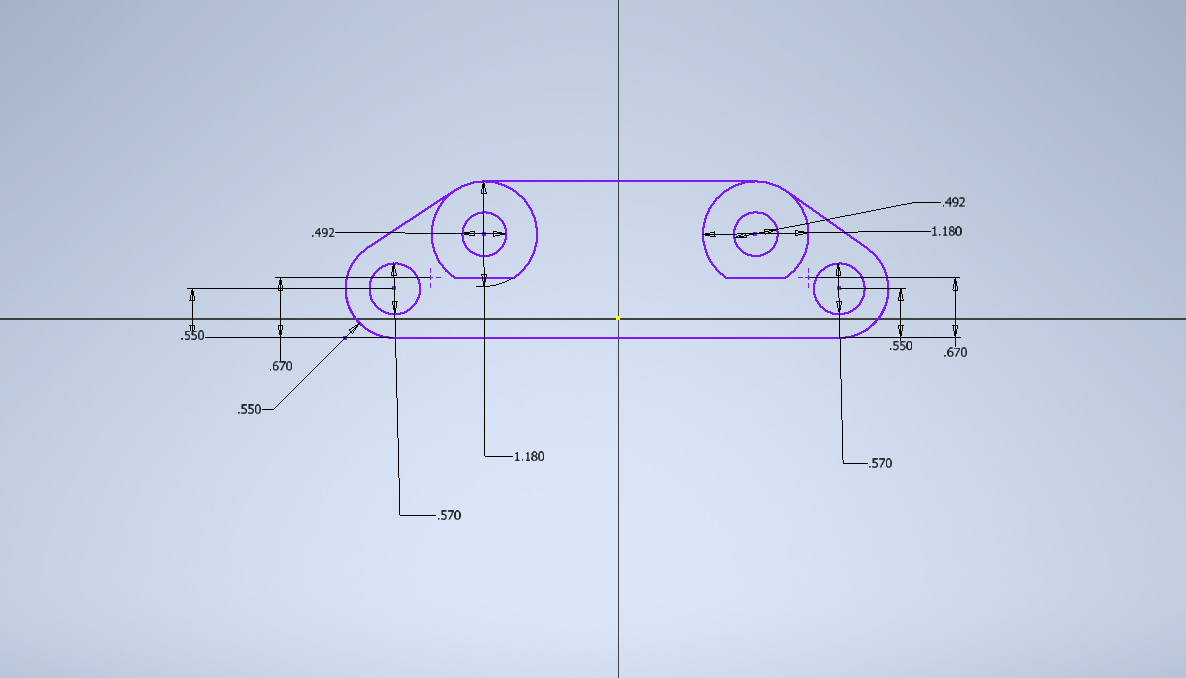
I started out by creating a rectangle and dimensioned it 6.13 by 1.75. Then I created circles that were the dimensions on the blueprint. Next you Fillet the corners of it. Then you draw a diagonal line and trim all of the parts you don't need.
|
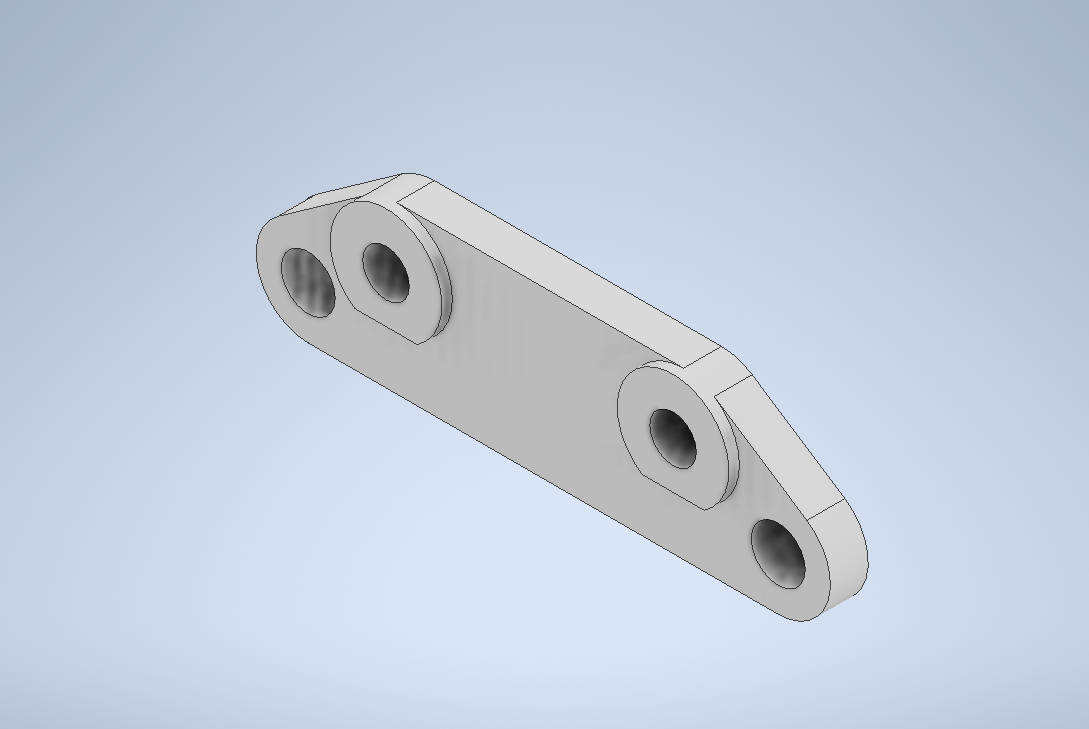
Lastly you extrude the part. This is what your final part should look like.
|

|
Next we put the brake bracket into fusion 360. We went over the steps in class and there is also a document that walks you through the steps. But due to time we did not get to do it on our own.
|
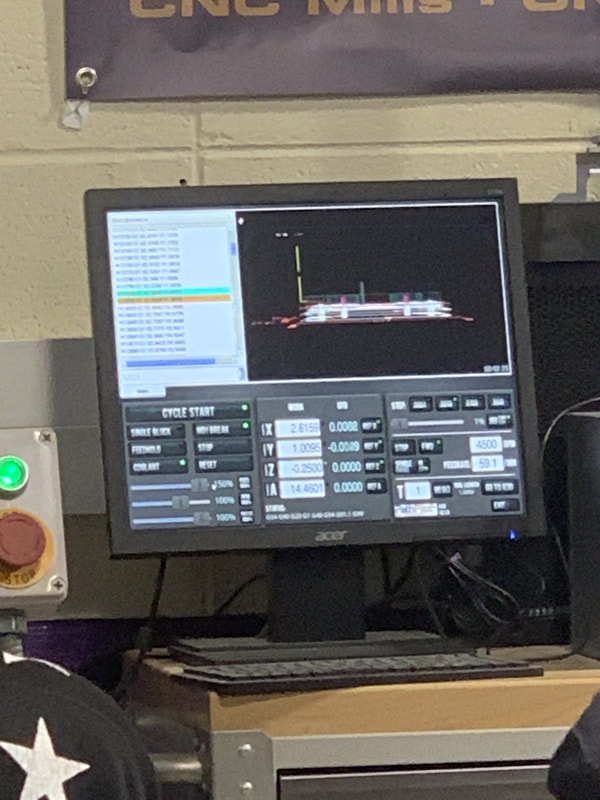
Then as a class we took our fusion 360 file and put it on to the computer that runs the mill. That computer turns it into G Code. We walked through this process as a class. There is also a sheet down there with the steps that you need to follow.
|
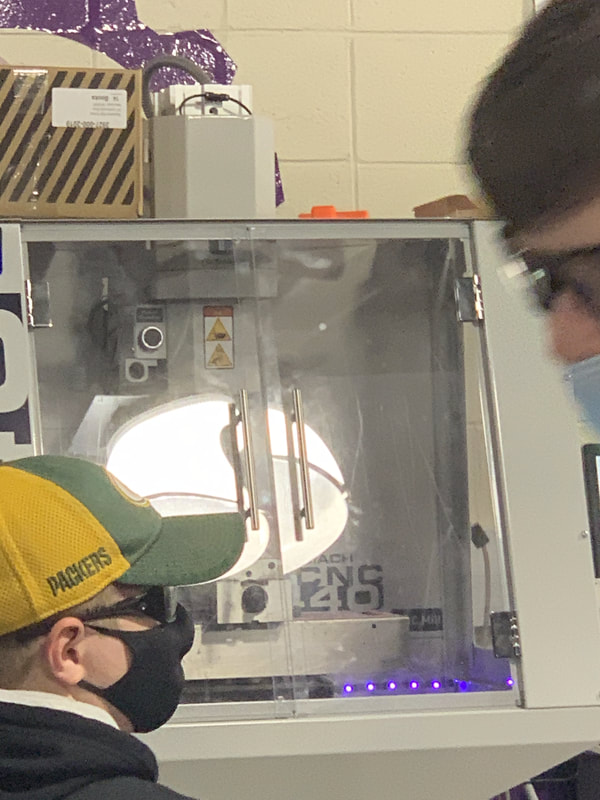
This is a picture of the brake bracket actually printing on the Mill.
|
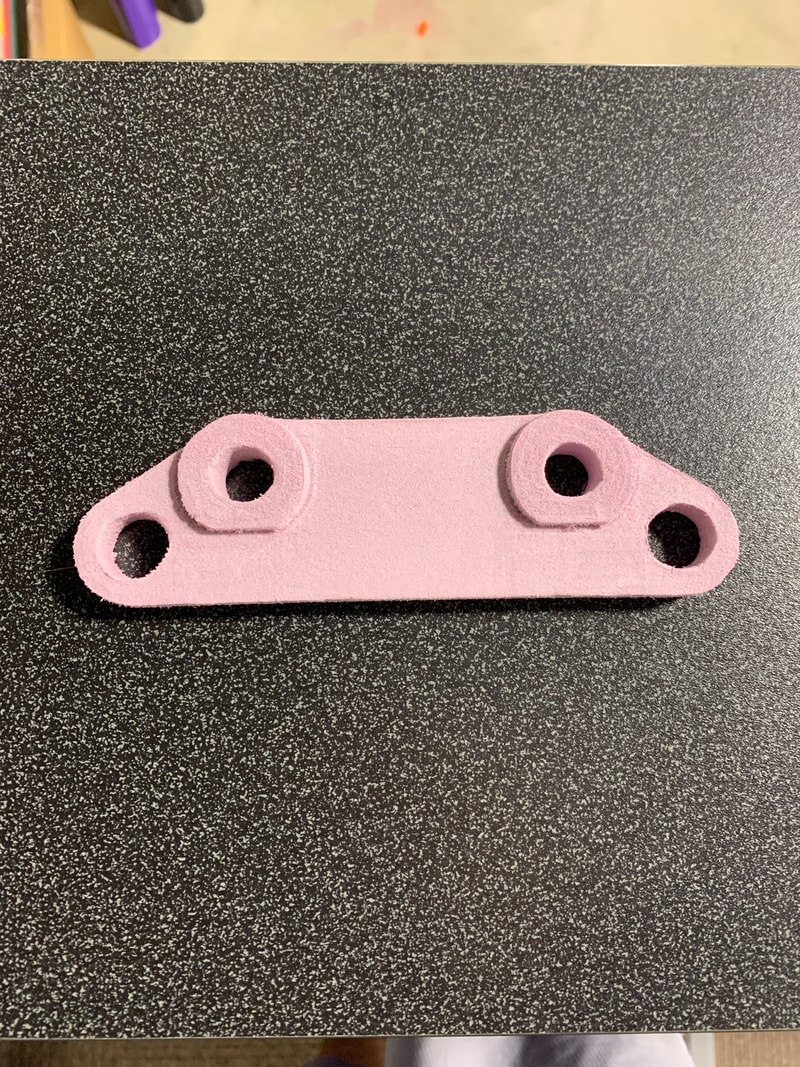
Here is the final brake bracket.
|
What I Learned
During the process of making the brake bracket I learned how to make rounded corners with the tangent tool. I also learned how to extrude different parts different lengths. The last thing that I learned was how to use fusion 360.
